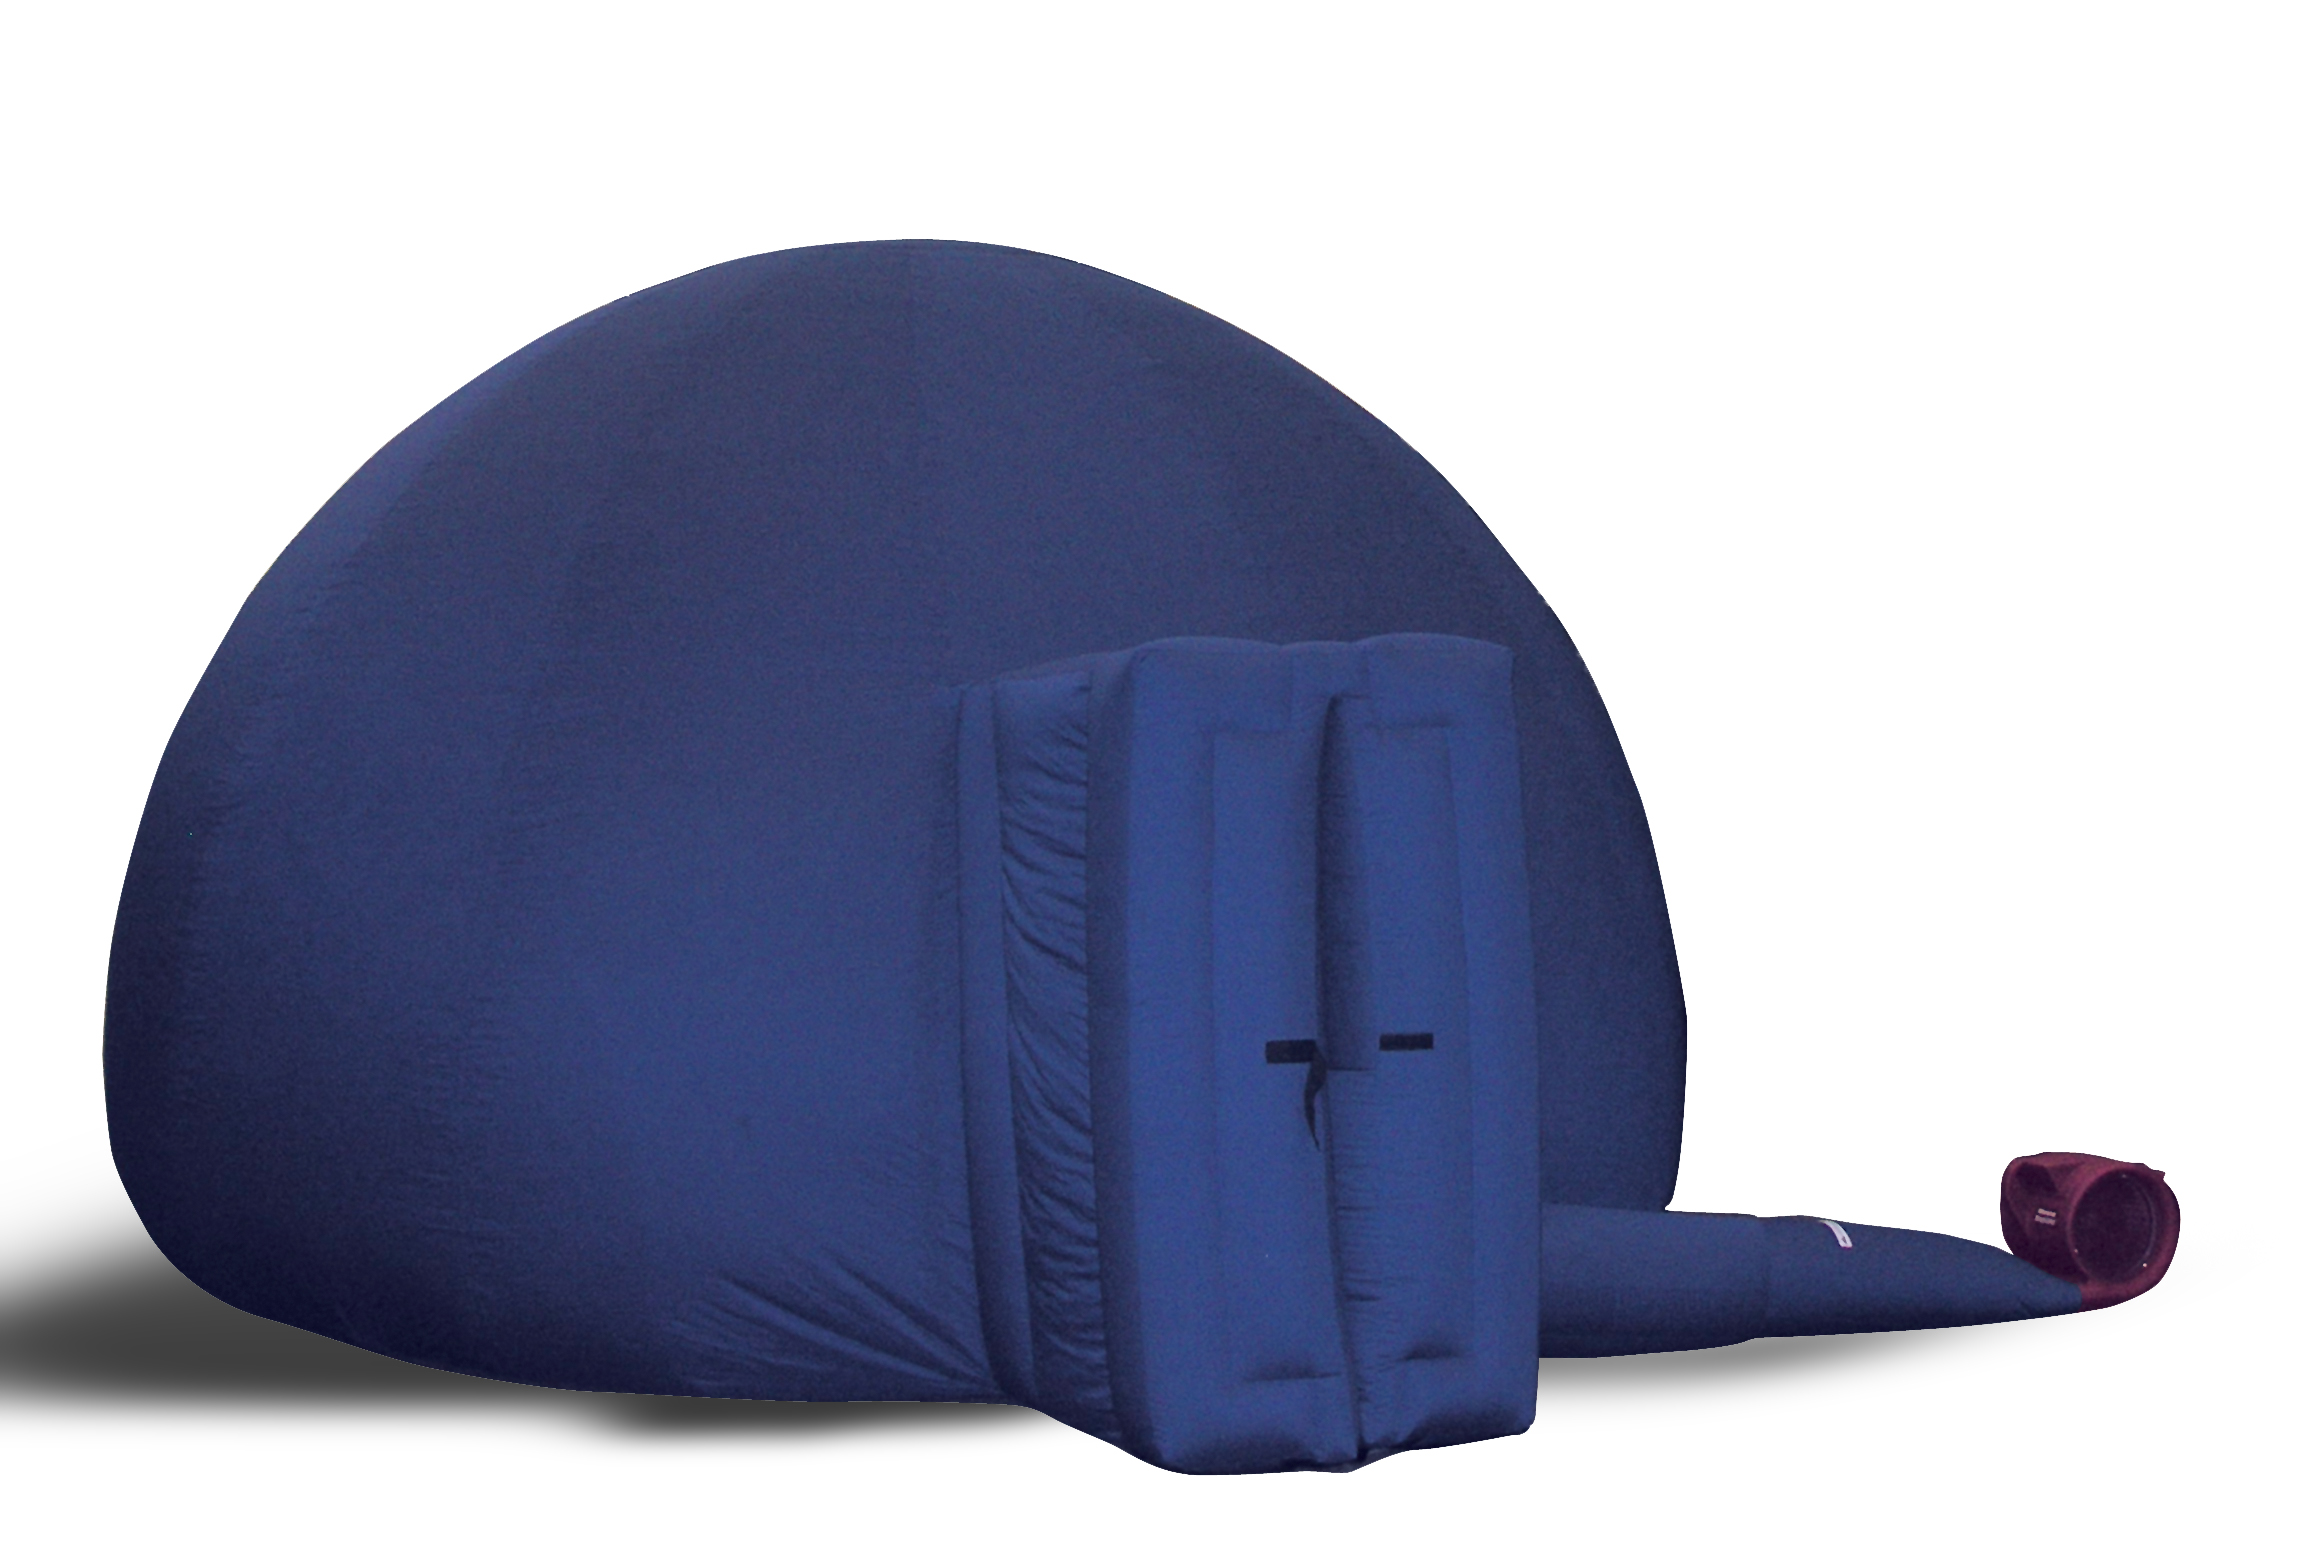
Inflating a standard dome
A Go-Dome™ comes tightly wrapped from the factory. It will probably never be this small again. The dome should always be rolled up with the grey projection surface on the inside. Unroll the dome and be certain that the surface on which you are inflating the dome is clean (at least not dusty or wet).
Locate the fan tube and the black vinyl piece for the bottom of the door. The fan tube is to the right of the door as you are entering the dome. Spread out the dome with the projection surface down. Identify the tubes going into the door and going into the dome. Reach under the dome and pull the Velcro flap away from the tube going into the dome. This flap is often closed during the folding process.
Attach the fan to the tube. The Velcro tab should be sufficient to make it secure, but you can also wrap a bungee cord around the cloth if there is a problem with your particular fan. Turn the fan on high and support the door, which will inflate first. Then walk around the perimeter of the dome to be certain that no air is escaping.
When inflation is complete, take a flashlight and enter the dome. You will have to unzip the inner door. Move your hand to the bottom of the zipper to find the pull tag and unzip the zipper upward. You may also have to push open the Velcro flap inside the zipper.

Equipment and chairs can be pushed under the dome or carried through the door. Set up the projector next to use its light to arrange the chairs. A fisheye projector will go near the center of the room. A Newtonian mirror projection system will be on the back wall, usually to the right of the door, in front of the vent. Usually the operator sits in a chair between the door and the Newtonian and can adjust the vent opening if needed.
There are two vents in the front of the dome (opposite the door). These should be opened. They let air out when the dome starts to rise and keep the dome from bouncing.
The door has several operation options. There is a black Velcro strap on the outside that can be closed to indicate that a program is in progress. There is a similar Velcro strap on the inside of the door tubes that can be used by the operator to hold the tubes closed. The operator can also zipper the dome shut and cover it with the flap to have a uniform grey interior surface. The zipper should not be used without the flap, especially if the fan is on high. If the dome is bouncing with the front flaps open, it is being over inflated and will put undue stress on the zipper. Either turn down the fan or unzip the door from the bottom to allow some air to escape.
It is recommended that students enter the door one at a time and not be allowed to push through the door. Insist that the classroom teacher or a volunteer assist with students entering the dome to maintain order. This is rarely a problem if students are told to enter the dome single file and to wait until the student in front is leaving the airlock before entering.
Wheelchair bound students also enter through the airlock door. Set the fan on high. Move the tubes apart by repositioning the Velcro at the bottom of the door. The student can then be rolled through the door in the wheelchair.
Deflating a standard dome.
First let the visitors leave the dome through the door. Then move all chairs and equipment off the edge of the dome. Leave the projector on, showing a bright scene. Then zip the dome closed, close the front vents, and set the back air intake vent partially open (so that it will be open when you set the dome up next time). After the vents are set, raise the front of the dome and push it up and over the projector so that it lies on top of the door. Reach under the dome cloth and turn off the fan.
At this point you can turn off the projector, but do not unplug it. Let it cool down.
Detach the fan from the dome. Stretch out the dome with the grey screen inside. Fold the cloth together until you have a long flat piece of cloth about the width of your bag. Then roll the cloth as you would a sleeping bag, starting at one end. If possible, roll up the dome so that the fan tube is on the outside. Roll the dome as tightly as you can. Cover it with the unzipped bag. Then roll everything over and zip up the bag. The dome is now ready for travel.
In case of a power outage:
If the power goes out, the fan and projector will turn off. It is critical to have a working flashlight (the one you used when entering the dome at least). First turn on the flashlight so students are not afraid. Then ask all students to move off of the dome edge quickly while remaining seated. Pull chairs off the edge as well.
Then pull down on the door so that the dome rises over the students and piles up on top of the door. Instantly everyone is outside the dome and safe.
See the emergency Take Down video.